 Streaming Learning Center Where Streaming Professionals Learn to Excel


Related Articles


This post details how to install, update and add FFmpeg to Windows Subsystem for Linux so you can run Linux in Windows with minimal muss or fuss.
Here’s why you might want to install WSL in the first place. I recently taught a session at Streaming Media East on using variables with FFmpeg (download handout here – note that free offer expires 6/19). As a preamble to the materials, I mentioned that the examples I was showing only worked on Linux and the Mac, not on Windows, either in the Command Window or Powershell.
At the end of the class, several students mentioned that you could run Linux on any Windows workstation via something called Windows Subsystem for Linux (WSL). Later, when I included the same Linux-only limitation in the Doceo newsletter, a reader wrote back, told me about WSL, and provided multiple links to various resources.
I researched a bit, got WSL installed and up and running, and confirmed that it ran all of the FFmpeg scripts included in the lesson and the course. While you may not want to go into production with WSL, it’s very useful for script creation, debugging, and demoing Linux operations from a Windows notebook.
So, here’s a bit of background on WSL. Then I’ll detail how to install and update it and get FFmpeg installed.
Contents
What is Windows Subsystem For Linux
WSL is a compatibility layer that runs a Linux environment in Windows, so you can use Linux tools, utilities, and command-line applications without creating a dual boot or setting up a virtual machine. There are two versions of WSL, 1 and 2, the latter of which should deliver better performance and increased compatibility with Linux commands and programs. However, I couldn’t get version 2 installed on the two Windows machines I tried, so I ran my tests on WSL version 1. Here’s the information about WSL Version 2 and the suggested installation that didn’t work for me.
Installing WSL
Installing WSL is a two-step process; first, you enable WSL in Windows and then download and install a Linux distribution. If you’ve never worked with Linux before, you’ll find the multitude of distributions (or distros) available disconcerting, but I’ll try to walk you through that stage when we get there.
Once we install the distro, we’ll update it, as there are almost always minor updates that occur after a distro is finalized. Then we’ll install FFmpeg.
1. Enabling WSL in Windows
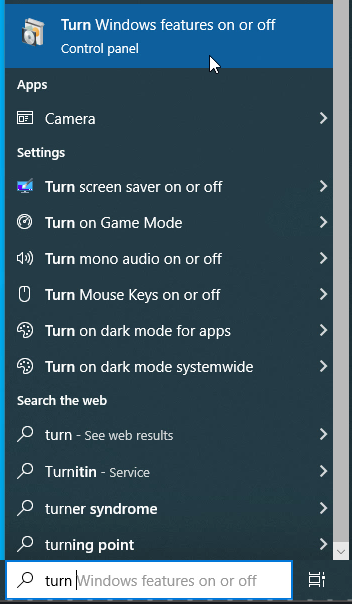
a. In the Start menu, type Turn, and the Turn Windows features on and off dialog will appear on top. Click that.
b. In the Windows Features dialog, scroll down until you see Windows Subsystem for Linux. Check that and click OK.

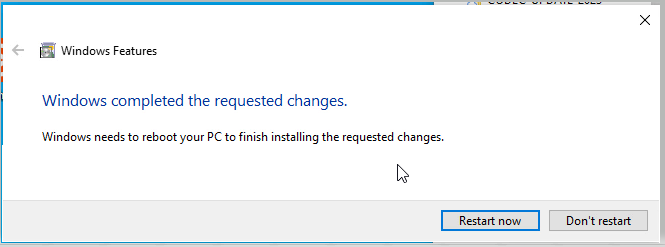
c. Windows will download some files and then present the dialog shown below. Click Restart now to restart the computer.
Once the machine reboots, you should be ready to install the Linux distro.
2. Installing the Linux Distro
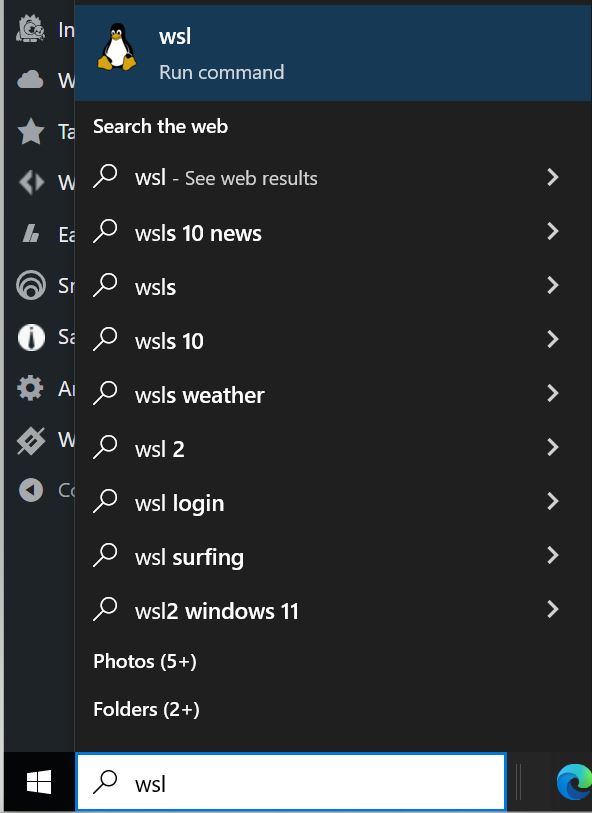
a. Once enabled, you’ll run WSL by typing WSL in the search window, which will open the command prompt. As you can see below, though you’ve enabled WSL, you haven’t installed a distribution, so it’s not working.
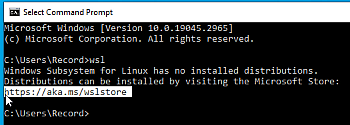
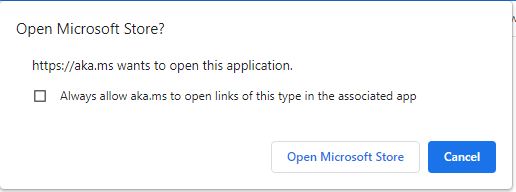
b. Type https://aka.ms/wslstore into your browser, and your browser will ask if you want to open the Microsoft Store. Click Open Microsoft Store.
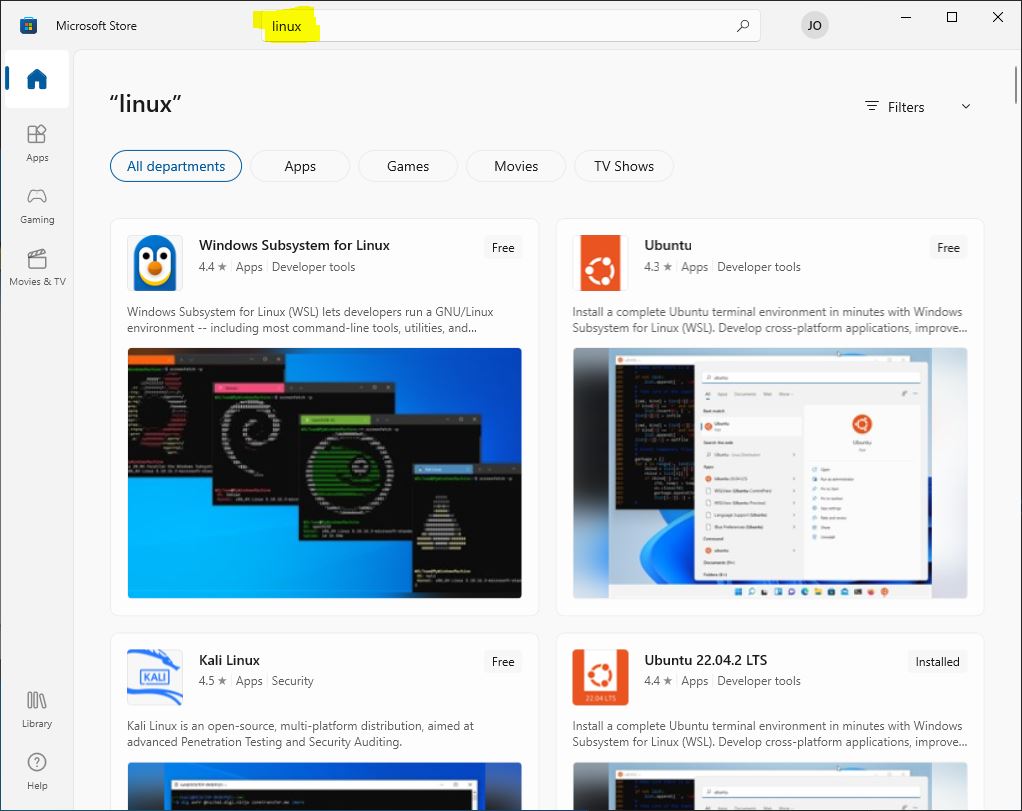
c. The Store Window will open with only three Linux options shown. Type Linux in the Search window atop the Microsoft Store, press Enter, and more options will populate the Store.
At this point, I’ll admit to NOT being a Linux expert. I’m sure many options would work well for you, but I’ve always used the latest version of Ubuntu when working with AWS, so it seemed to make the most sense to do the same here. That’s why I installed Ubuntu 22.04.2 LTS.
d. Click a distribution, and it will open inside the Store. You’ll see an option to Install, which you should click.
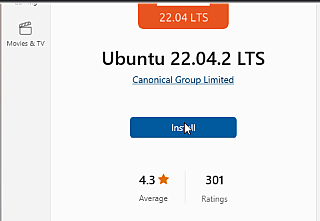
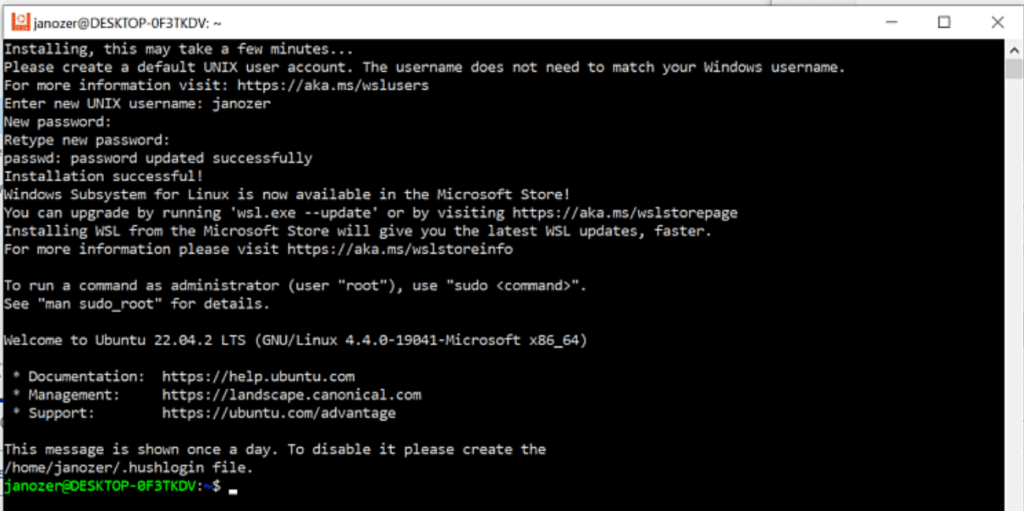
The Store will download the program, and the Install button turns into the Open button. Click that, and a Ubuntu window will open with the message; “Installing this may take a few minutes.” You see this on the top in the image below.
Once done, you’ll see the other messages below, where you enter your name and choose and confirm the password. Ubuntu (in my case) installation is complete. Your work is half done.
3. Updating the Distro
If you typed FFmpeg to try to run the program at this point, you’d get an error message as it isn’t installed in the distro. It’s a touch confusing because FFmpeg is probably installed in your Windows system. However, you can’t run that version from the new Linux distro; it can’t run or even access any Windows programs. So, you have to install FFmpeg anew in Linux.
To do so, you have to update the distribution. Follow these instructions.
a. Update package lists: Run the following command to update the package lists on your WSL installation:
sudo apt update
b. Enable the Universe repository: Make sure the Universe repository is enabled in your package sources. You can do this by running the following command:
sudo add-apt-repository universe
c. Refresh package lists again: After enabling the Universe repository, run the update command once more:
sudo apt update
4. Install FFmpeg
Now you should be able to install FFmpeg. Here’s the command:
sudo apt install ffmpeg
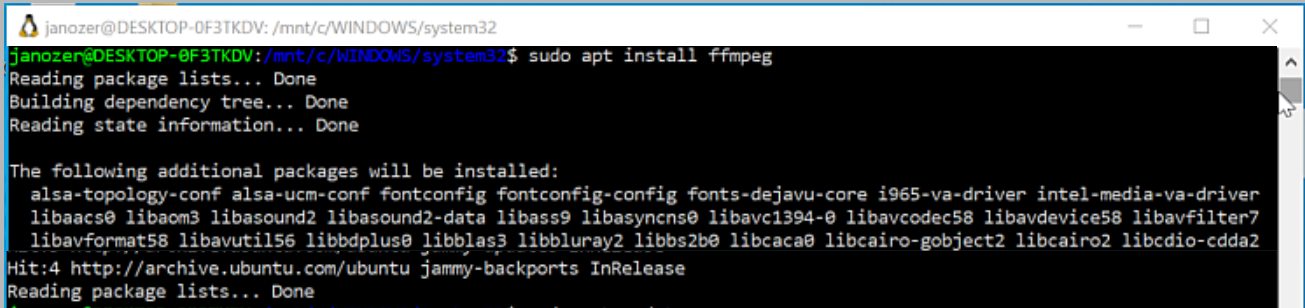
Follow the prompts, and you will install FFmpeg.
In my system (in May 2023), Ubuntu installed FFmpeg 4.4.2, despite FFmpeg being up to version 6. You can download more recent versions here, or search for How to Upgrade FFmpeg on [insert Linux distro here]. I searched for “upgrade FFmpeg on Ubuntu” and found this promising article entitled, FFmpeg 6.0 Released! How to Install in Ubuntu 22.04 | 20.04 (that exclamation mark really got my blood going). Alas, as is often the case with me, FFmpeg, and upgrading on Ubuntu, it was no joy; I followed the procedures and ended up with version 4.4.2.
This could be user error or the inability of standard Ubuntu upgrade procedures to work with WSL. Either way, FFmpeg 4.4.2 was fine for what I needed so I stopped working the issue.
5. Running WSL
To run WSL after installation, type WSL in the Search Window and press Enter.
WSL will open in its own Command Window.
Accessing Your Windows Disks
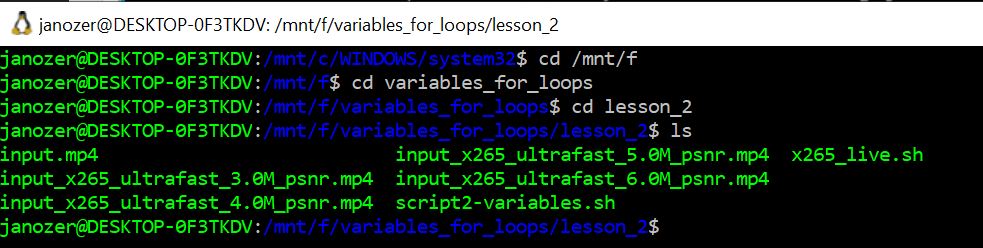
As mentioned at the top, I will be using WSL to test FFmpeg scripts, not for production. So, I don’t plan to mount any special Ubuntu-only disks; I just want to access existing Windows disks. As you see in the WSJ window above, I do this by typing the following command:
cd /mnt/f
Substitute the letter for whatever drive you’re trying to access. Once you’re at the root of the drive, you can navigate as normal.
Author’s note: The author thanks Carlos Araya for suggesting this article and providing valuable resources and comments.


